In this article we’ll show how to configure ICMP-based network device monitoring using ping in Zabbix. It is the easiest and the most popular task of agentless monitoring, when you want to check the availability of a remote server, website or network device from your monitoring server. Zabbix can send ICMP requests to the host, and if no answer is received, the response time is too long or a large percentage of packets are lost, it displays a warning on the dashboard. The ICMP protocol is mostly used to check the availability of network hosts. Ping and traceroute/tracert tools also work over ICMP protocol.
First of all, you must configure a firewall on the hosts you are going to monitor (allow icmp ping requests) and make sure that fping is installed and configured on your Zabbix server.
How to Open Ports for ICMP Ping on Windows Server and Linux?
By default, ICMP ping is allowed on Windows Server, but if is has been disabled on any reason, you can enable it using netsh or PowerShell. Run the command prompt as administrator and enter the following:
netsh advfirewall firewall add rule name="ICMP Allow“ protocol=icmpv4:8,any dir=in action=allow
Here is the same PowerShell command (built-in NetSecurity module is used):
Set-NetFirewallRule -Name FPS-ICMP-ERQ-In -Enabled True -Profile Any -Action Allow
The commands will create a firewall rule allowing inbound ICMP echo requests.
Inbound ICMP traffic is also allowed in modern Linux distros. If it is disabled on any reason, add these rules to iptables. Run the following commands under root/sudo:
# iptables -I INPUT -p icmp --icmp-type echo-request -j ACCEPT
 # iptables -I OUTPUT -p icmp --icmp-type echo-reply -j ACCEPT
Thus, you will add the rules allowing ICMP requests to the beginning of the iptables rule chain.
If you use firewalld to manage firewall rules, you can allow ICMP ping reply as follows:
# firewall-cmd --permanent --direct --add-rule ipv4 filter INPUT 0 -p icmp -s 0.0.0.0/0 -d 0.0.0.0/0 -j ACCEPT
How to Install Fping & Set Paths in Zabbix?
Fping is used in Zabbix to perform ICMP checks. In most Linux distros, the utility is preinstalled, so make sure that it exists in the operating system first. Go to your Zabbix server and run this command:
fping -v
If there is no such tool, install it using a package manager:
- In Ubuntu:
apt install fping - In CentOS, you will have to connect EPEL repository first and then install the tool:
yum install fping
By default, the tool is installed in /usr/bin/fping. If there are any problems with fping, make sure that it is located in /usr/bin/fping. If it is in another directory, change the following lines in zabbix_server.conf by specifying the correct path to fping.
FpingLocation=/usr/bin/fping
Fping6Location=/usr/bin/fping6
ICMP Ping Template in Zabbix
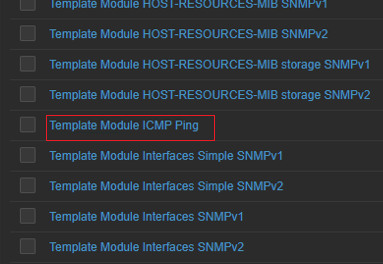
By default, there is the Template Module ICMP Ping in Zabbix. (It may have a different name depending on a Zabbix version.) We will use it to monitor network hosts using ICMP ping. The template includes 3 checks:
- ICMP ping – node availability over ICMP;
- ICMP loss – percentage of lost packets;
- ICMP response time – ICMP ping response time in milliseconds.
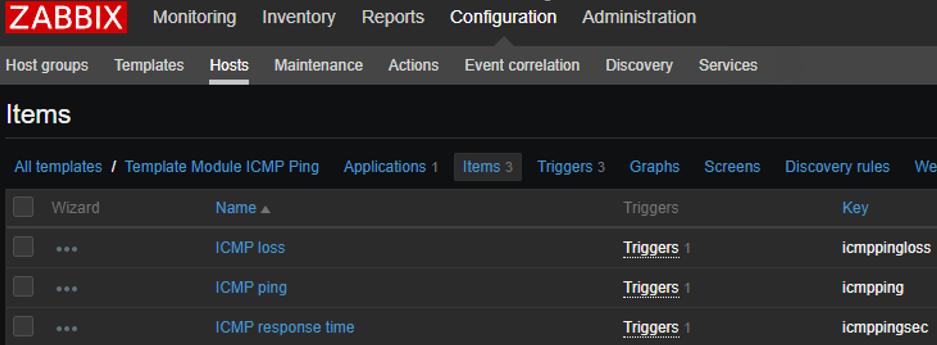
Look at the Key column: icmpping, icmppngloss and icmppingse, these are built-in keys in Zabbix. They are Simple checks, it means that the Zabbix Agent is not used to perform them.
The template contains 3 triggers that track the keys described above and their values.
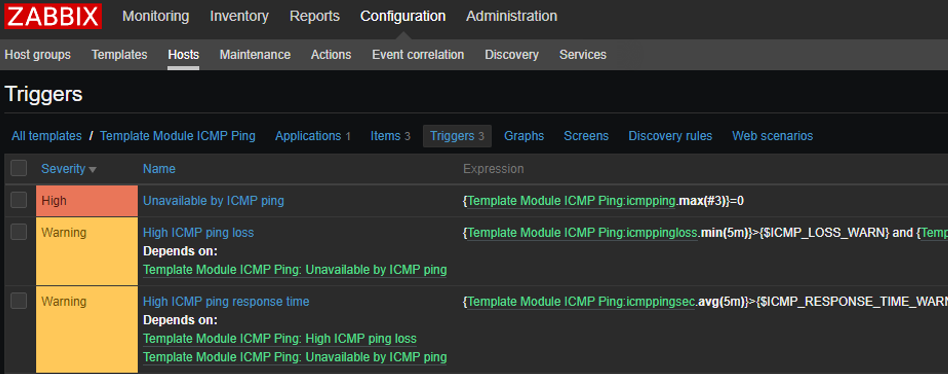
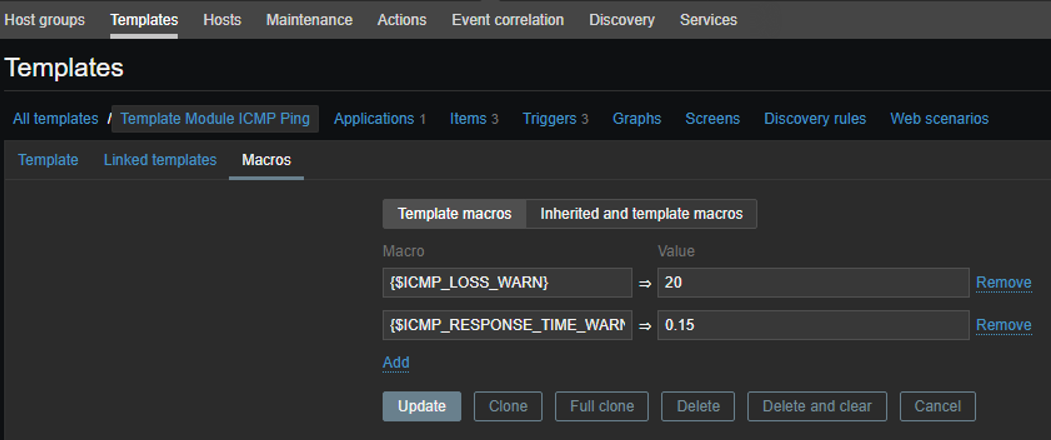
Some triggers, like High ICMP ping response time, use the template macros. You can change macro values in the Macros tab.
The values that will activate a trigger:
- The package loss percentage of ICMP Ping Loss ($ICMP_LOSS_WARN) for the last 5 minutes is more than 20.
- The Response Time value ($ICMP_RESPONSE_TIME_WARN) is over 150 milliseconds for the last 5 minutes.
Create Host in Zabbix and Connect the ICMP Ping Template
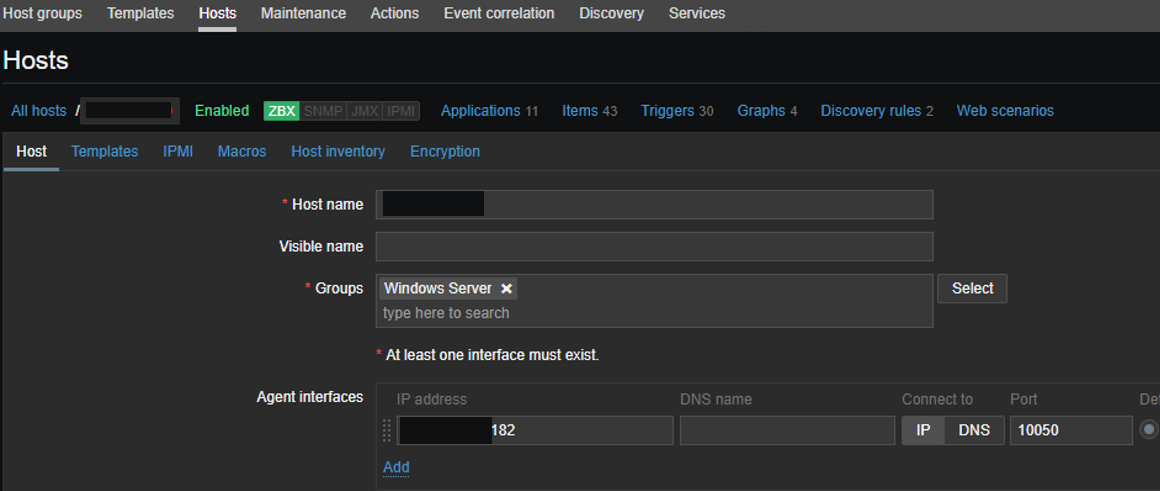
In this article I will configure monitoring of a host running Windows Server. Let’s add this host to zabbix. Go to Configuration -> Hosts -> Create Host.
Enter a host name, select a group and enter an IP address of your host in Agent interfaces.
Open the Templates tab, click Select and choose Template Module ICMP Ping.
Click Add in the template selection form and Add to finish host creation.

All templates connected to the host are displayed in the Templates column.

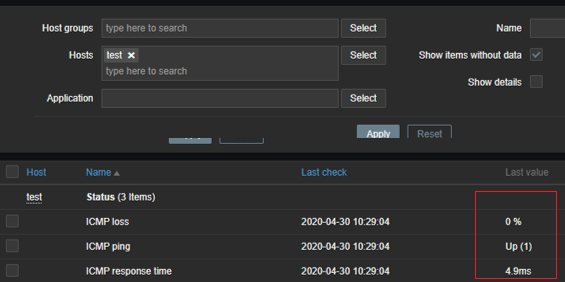
Then check how the monitoring works. Go to Monitoring -> Latest data, click Select next to Hosts and select the host you have just created.
The latest data received from the host are displayed in the Last Value column.
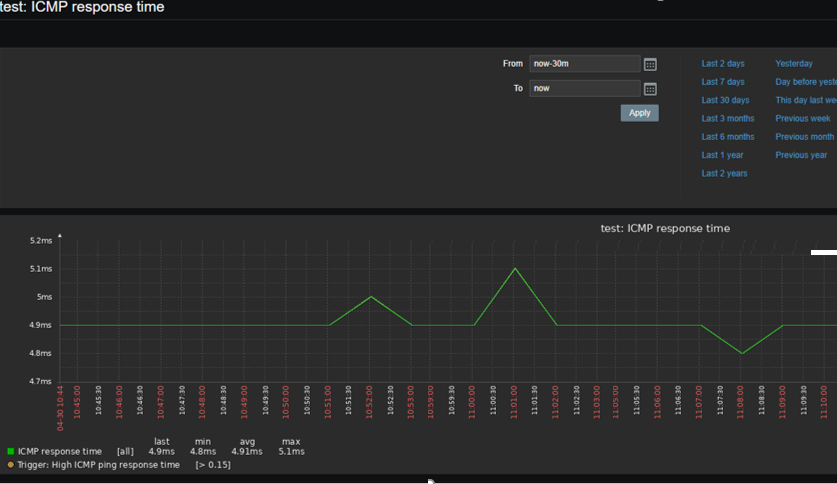
Also, you can view a graph for a specific value, like the ICMP Response time. Click Graph.
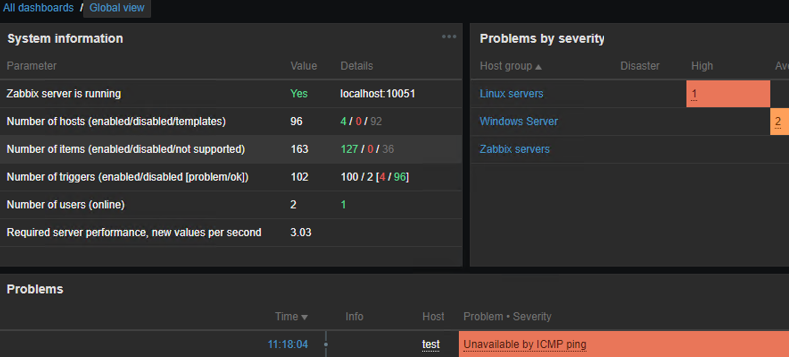
In case of any problems, you will see a notification on Zabbix dashboard.
ICMP ping is the easiest basic check of your network device availability. If you want to get more data about your device, you can configure device monitoring using Zabbix Agent, SNMP or other protocols.