This article will tell you how to backup Window 10 to an external media (USB drive, additional HDD/SSD or shared network folder) using built-in system image backup tools, and how to properly restore the system from this image. Windows System Image Backup includes a complete OS image, system and user partitions with all installed programs, settings and personal user data.
How to Create a Windows 10 System Image Using Wbadmin?
To make a system image backup, you can use the command prompt tool wbadmin.exe. Connect an external disk or USB flash drive to your computer, to which we will save the Windows 10 image.
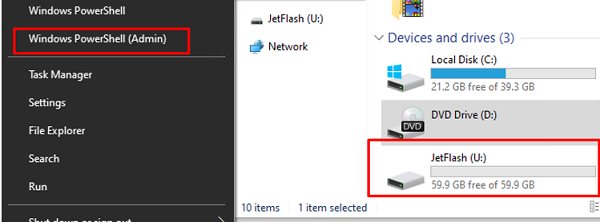
Start the PowerShell console as an administrator.
In our case, Windows 10 is installed on the C:\ drive, and we’ll save the system image to the U:\ flash drive (there must be enough free space on the flash drive). In this case, a command to create the system image will be as follows:
wbAdmin start backup -backupTarget:U: -include:C: -allCritical -quiet
If you need to include in the backup not only the system partition on which Windows 10 is installed, but also other partitions, use the following command:
wbAdmin start backup -backupTarget:U: -include:C:,D:,E:,F: -allCritical -quiet
In case, you have to save the system image to a shared network folder, you need to specify the UNC path (your account must have NTFS write permissions on this folder):
wbAdmin start backup -backupTarget:\\mun-srvbk1\backup\userimages -include:C: -allCritical –quiet
wbAdmin start backup -backupTarget:\\mun-srvbk1\backup\userimages -user:jsmith -password:$tr0ngP@$$w0rrd -include:C: -allCritical –quiet
If you want to add specific directories to the backup, specify them like this:
-include:E:\Docs
It will take some time to create a Windows image backup, depending on how much data is on the source drives.
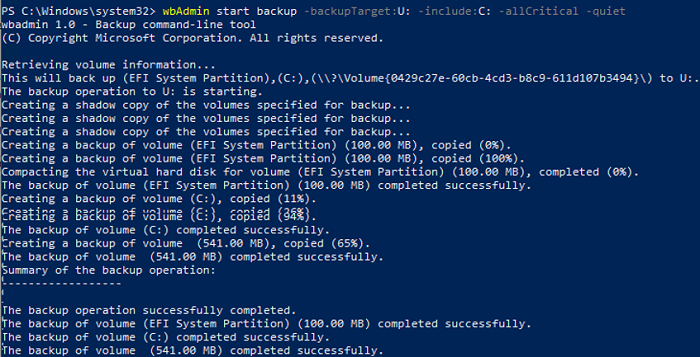
The backup operation successfully completed.
The backup of volume (EFI System Partition) (100.00 MB) completed successfully.
The backup of volume (C:) completed successfully.
The backup of volume (542.00 MB) completed successfully.
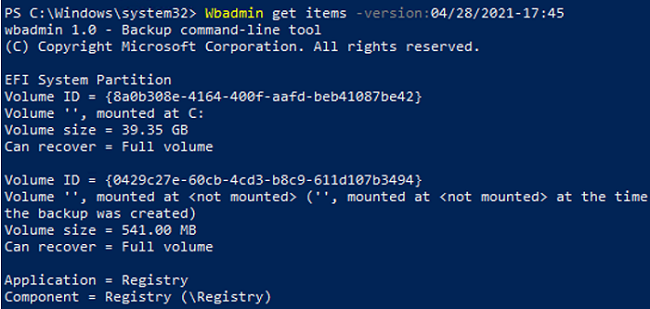
As you can see, not only the system partition was included in the image backup, but also the EFI and System Reserved partitions.
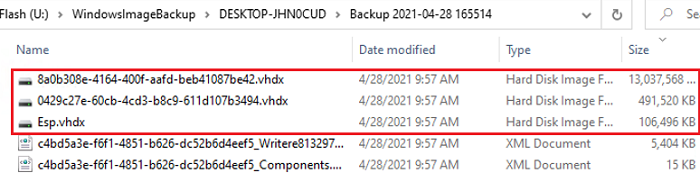
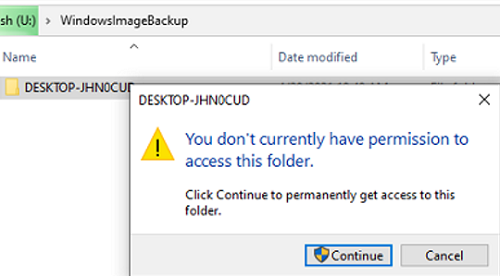
When wbAdmin utility completes its task, WindowsImageBackup directory containing the system image will appear in the root of the target drive. It contains your system and data partitions in the VHDX file format. If necessary, you can manually mount these VHDX disks and access their contents.
Performing an Image Backup using the Windows GUI
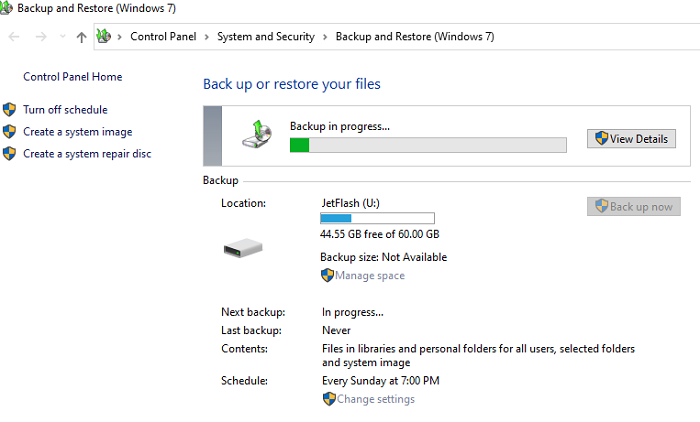
You can also backup your Windows 10 image from the Windows 10 GUI. This feature is available through the Control Panel (Control Panel\System and Security\File History). Click on the System Image Backup button in the bottom left corner.
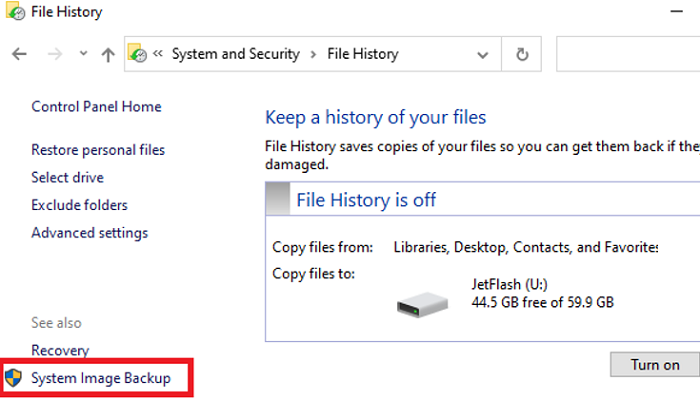
Alternatively, just run the Sdclt.exe command.
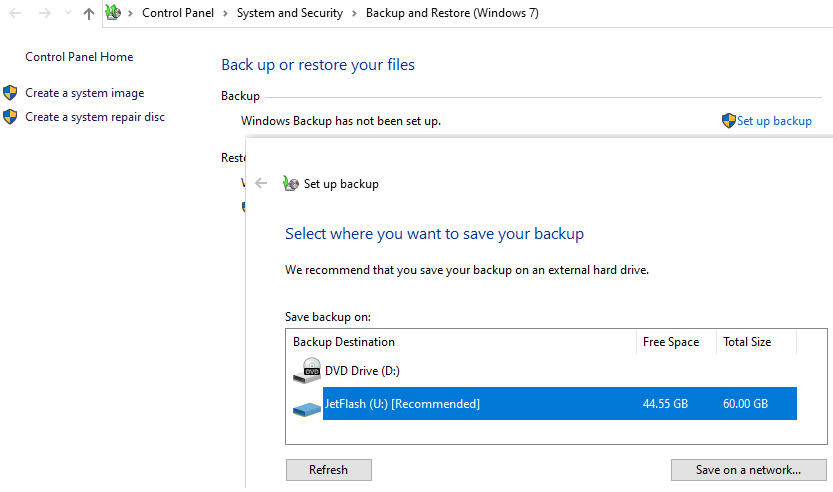
In the next window, click Setup backup and specify the drive where you want to save the Windows image.
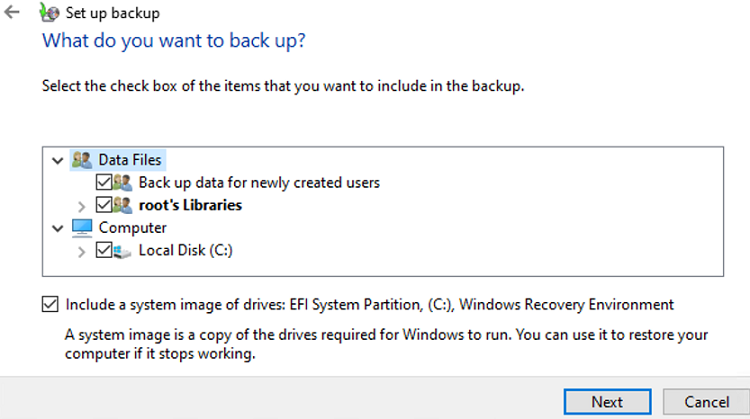
Select the drives you want to back up. Make sure that the “Include a system image of drives: EFI System Partition, C:, Windows Recovery Environment” option is checked.
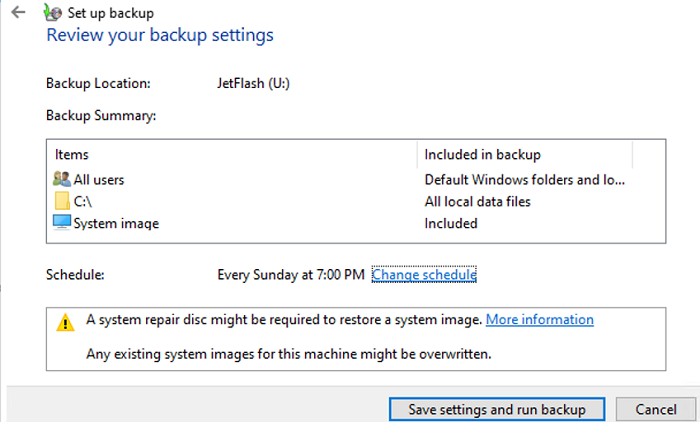
Then you can configure an automatic backup schedule.
To start the backup, click Save settings and run backup.
You can check the current backup status in the Control Panel.
Managing Windows Backups Using the Wbadmin
Let’s look at several commands of the wbadmin.exe command line tool for managing backups.
List the backups registered in the system:
Wbadmin get versions
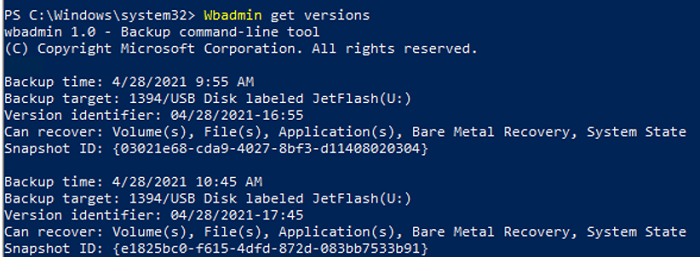
Backup time: 4/28/2021 9:55 AM
Backup target: 1394/USB Disk labeled JetFlash(U:)
Version identifier:04/28/2021-17:45
Can recover: Volume(s), File(s), Application(s), Bare Metal Recovery, System State
Snapshot ID: {02036e21-cda2-1012-2bf1-d22401212344}
In this case, we have 2 backups. To list the items stored in a specific backup, specify its Version identifier:
Wbadmin get items -version:04/28/2021-16:55
To delete all backups except the last three, run:
wbadmin delete backup -keepversions:3
To remove only the oldest image backup version:
Wbadmin delete backup –deleteOldest
How to Restore Windows 10 from a System Image Backup?
To restore Windows 10 from a previously created system image backup, you will need:
- A Windows 10 install image on a DVD disk or a USB flash drive (how to create a bootable USB flash drive with Windows 10), system repair disk, MSDaRT recovery image, or similar LiveCD;
- Change the boot order in the BIOS/UEFI settings so that the computer boots from your DVD/USB media.
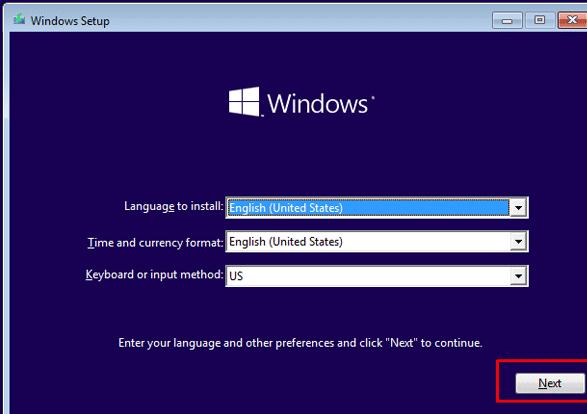
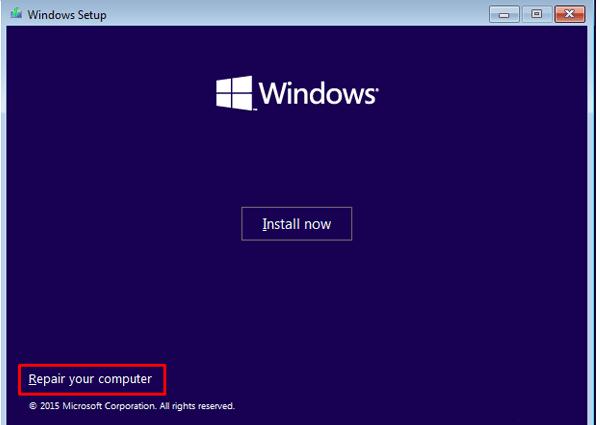
Boot from an installation/boot disk.
On the first Windows Setup screen, click Next.
Click Repair your computer button in the bottom left corner.
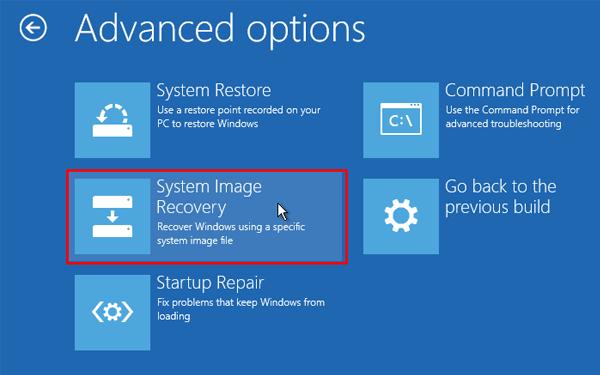
After that, go to Troubleshoot -> Advanced Options -> System Image Recovery.
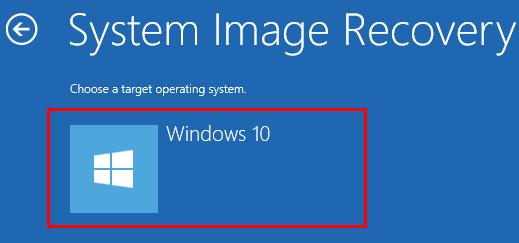
Select Windows 10 from the list of target OSs.
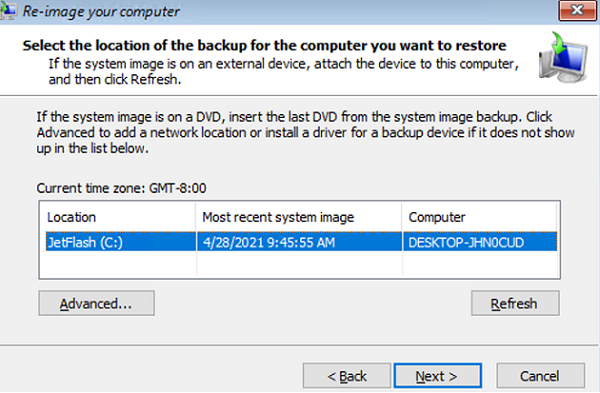
The recovery wizard will scan the connected drives and find a list of previously created backups. You can restore the latest image, or choose an earlier one.

Select the image to be restored from the list of available images.
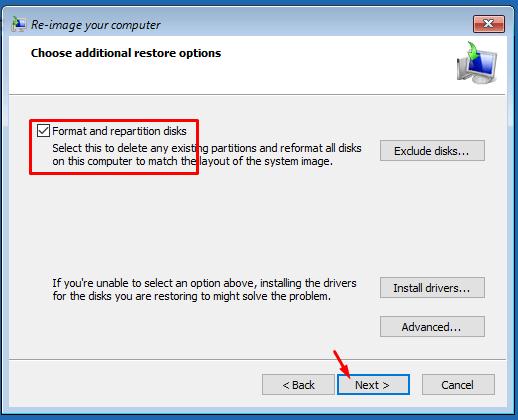
Check the option Format and repartition disks if you are restoring an image to a new disk. In this case, the Recovery wizard will delete all current partitions on the disk and recreate the partition table in accordance with partitions in the image.
Now, you only have to confirm restoring the system from the image.
When the installation wizard completes its task, boot from your hard drive (don’t forget to change the boot device priority in the BIOS) and make sure that you have successfully restored Windows 10 from the image backup you created earlier.
Shift+F10 keyboard shortcut to open the Command Prompt.Run startnet.cmd or wpeinit.exe to initialize the network.
You can check the current network settings as follows:
ipconfig /all
To set a static IP address and specify DNS servers, use the following commands:
netsh int ipv4 set addr "Ethernet0" static 192.168.10.15 255.255.255.0 192.168.10.1 1
 net start dnscache
 netsh int ipv4 set dns "Ethernet0" static 192.168.10.11 primary
Now you can switch to the System Image Recovery windows and specify UNC path to your image backup folder.