You can install an SMTP server using built-in tools in all versions of Windows Server. This SMTP server can work as a mail relay service that should receive and send SMTP emails from various devices in the organization (for example, senders, scanners, access control devices, etc.) and applications (web apps, SQL Reporting Services, SharePoint), which should be able to send mail using the SMTP protocol. Such a relay can send messages to your Exchange servers or to public email services such as Gmail, Yahoo, Office 365 (outlook.com), etc. (since it is not always advisable to deploy a full-featured internal email infrastructure based on Microsoft Exchange Server or other email services).
In this article we’ll show how to install, configure and test the SMTP server on Windows Server 2012 R2, 2016 and 2019 serving as a mail relay. This SMTP server can only send or forward emails, and there are no user mailboxes on it.
How to Install SMTP Service on Windows Server 2016 / 2012 R2?
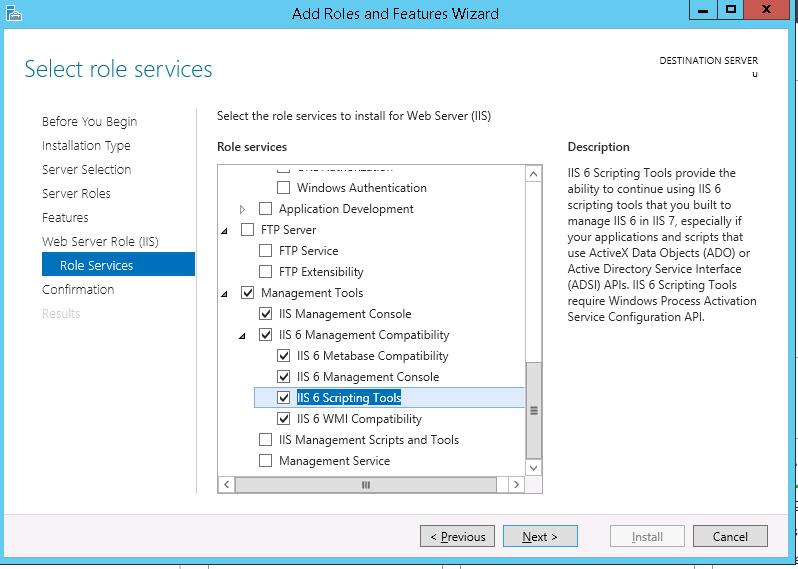
SMTP service is one of the built-in features of Windows Server that can be installed through Server Manager. To do it, open the Server Manager Dashboard (servermanager.exe), go to Add roles and features and check SMTP Server when selecting the features to install. To manage the SMTP service, install the management consoles, being a part of Web Server (IIS) role, so you will be prompted to install some IIS components.
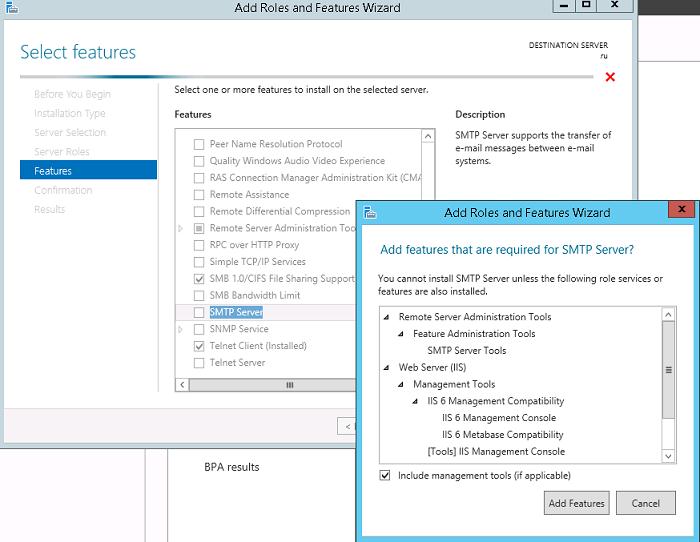
Leave all the suggested options of the Web Server (IIS) role and run installation.
You can also install the SMTP server role using the PowerShell command:
Install-WindowsFeature smtp-server
After the components are installed, you may need to restart your server.
Configuring SMTP Server on Windows Server
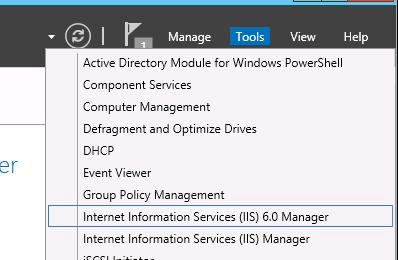
The SMTP server is still managed using the old school management console Internet Information Services (IIS) Manager 6. You can open this console from the Server Manager: Tools-> Internet Information Services (IIS) 6.0 Manager or with the command inetmgr6.exe.
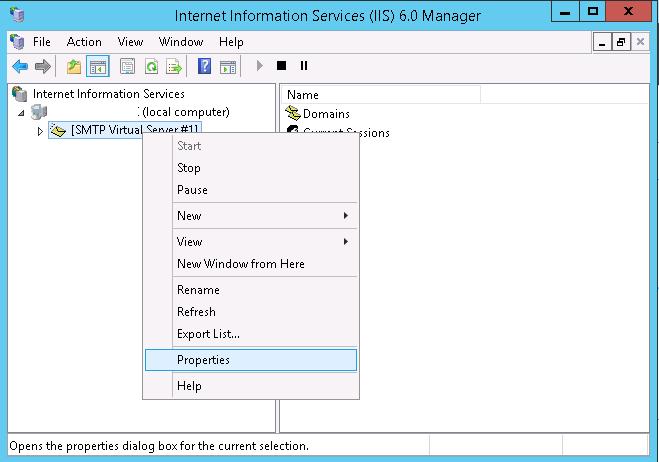
Expand the branch with your server name in the IIS 6 Manager, right-click SMTP Virtual Server and open its properties.
On the General tab, if necessary, select the IP address on which the SMTP server should respond (if the server has multiple IP addresses), and check the option Enable logging (in order to save information about all received emails to text log files).
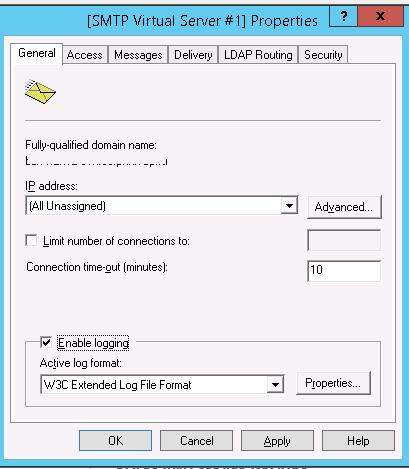
Then go to the Access tab.
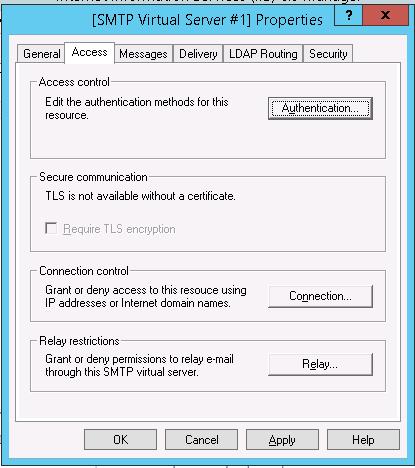
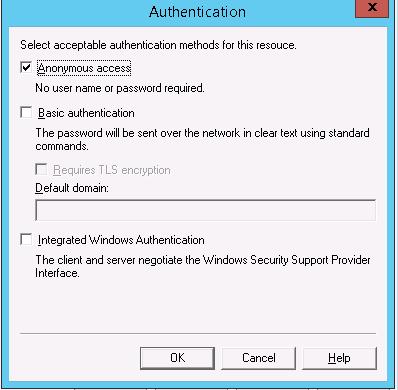
Here click the Authentication button and make sure that the Anonymous access is enabled.
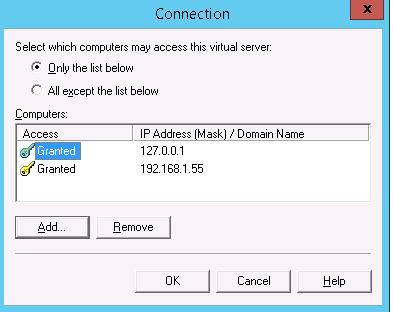
Go back to the Access tab and click the Connection button. Here you can specify the IP addresses of devices that are allowed to send emails through your SMTP relay. To do it, check the Only the list below and specify the list of IP addresses (subnets), don’t forget about yourself (127.0.0.1).
Configure the same way the list of allowed IPs in the Relay settings (click the corresponding button). This section indicates which IP addresses (or subnets) can relay email through your SMTP server.
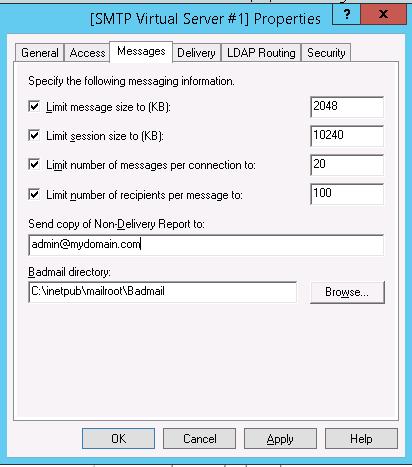
Go to the Messages tab. Here the administrative e-mail address is specified, to which the copies of all NDR messages will be send (Send copy of Non-Delivery Report to:). Also here you can specify the restrictions on the maximum message size (Limit message size KB) and the maximum number of recipients (Limit number of recipients per message).
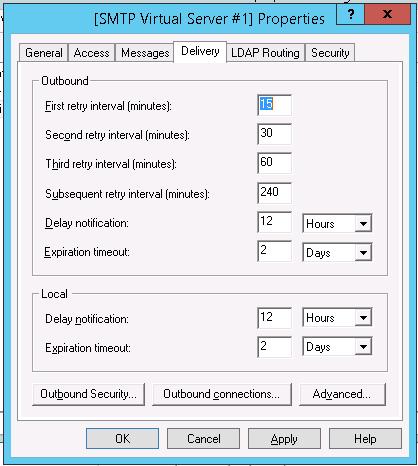
Go to the Delivery tab.
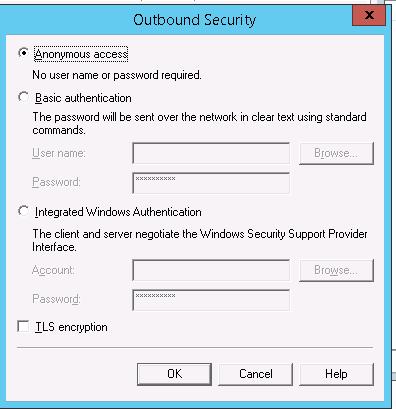
Then click Outbound Security. Here you specify the way of authentication on the external mail server to which your SMTP server will send (relay) all email messages. For example, if all emails will be forward to Gmail mail server and then sent to the recipients, you need to check the Basic authentication and specify your Gmail mailbox credentials (you must allow to send email via Gmail SMTP in the Google account settings).
Then click Advanced.
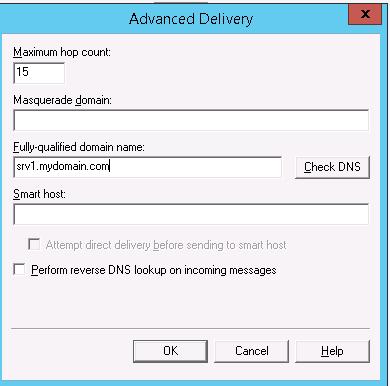
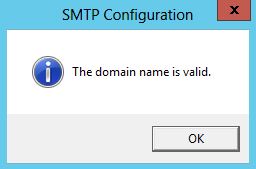
Here you specify the FQDN name of your SMTP server. Click the Check DNS button to make sure that the DNS record is valid.
If your server sends mail to an external SMTP server, specify its name in the Smart host field (for example, smtp.gmail.com or smtp.office365.com).
Save the SMTP server settings and restart your SMTP virtual service to apply the changes.
- The DNS settings are critical from the point of view of email system health. If your SMTP server cannot correctly resolve DNS names of domains to which it is trying to send email, the delivery will fail.
- If your server sends mail to other domains, it is important that the correct PTR record is created for your IP address in order to resolve reverse DNS lookups. The PTR record for your public IP address should point to your server FQDN name. Otherwise, most external SMTP servers won’t accept email from you, considering your server a spammer one.
SMTPSVC Service Auto-Start
It remains to configure the automatic startup of SMTP service on your Windows Server. You can do it quickly using the PowerShell command prompt:
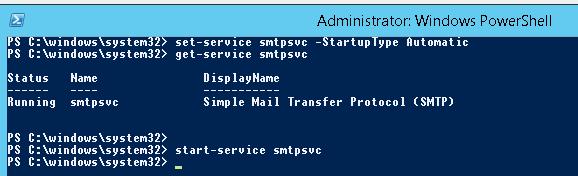
set-service smtpsvc -StartupType Automatic
Start the service:
start-service smtpsvc
Make sure that the SMTPSVC service is running:
get-service smtpsvc
Status Name DisplayName
—— —- ————
Running smtpsvc Simple Mail Transfer Protocol (SMTP)
Testing the SMTP Server on Windows
The last thing you have to do is to make sure that your SMTP server is working. It is easier to do it by creating a plain-text file smtp-test-email.txt on your desktop and copying the following text to it. Don’t forget to change the sender and recipient names to yours.
From: [email protected]
 To: [email protected]
 Subject: Email test
 This is the test email
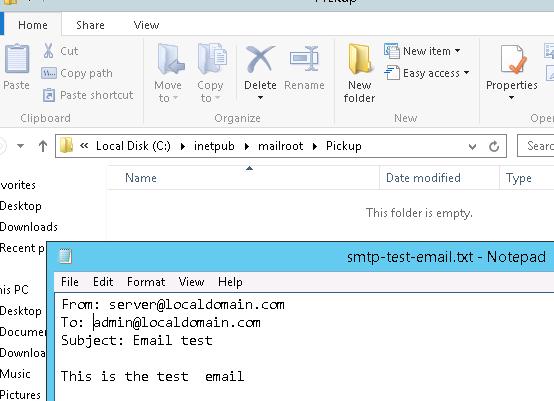
Copy the file smtp-test-email.txt to the C:\inetpub\mailroot\Pickup folder. The Windows SMTP server monitors new files appearing in this folder, and if a file is found it will read it contents and try to send an email with the given subject and body to the recipient specified in the To: line.
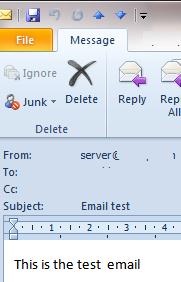
Check the recipient mailbox, and you will see this e-mail.
Send-MailMessage -SMTPServer localhost -To [email protected] -From [email protected] -Subject "Email test" -Body "This is the test email from PowerShell"
If you have enabled Basic Authentication to authenticate all your SMTP clients (instead of anonymous authentication), you can send an email with the smtp authentication via telnet as follows.
Also, make sure that TCP 25 port is not blocked on your SMTP server by the local firewall or anti-virus software. The easiest way to do this is from a Windows-based computer whose IP address has been added to the allowed connection list. Check availability of port 25 using the Test-NetConnection cmdlet:
Test-NetConnection smtprelay.woshub.com –port 25
If port 25 is blocked, check the settings of Windows Firewall, antivirus and hardware firewalls.
So, you have configured your own SMTP mail relay on Windows Server 2016 / 2012 R2 and tested sending emails through it.
5 comments
Hi,
Great tutorial. I already had it configured. It was nice to doublecheck by reading yours.
I do have a simple question:
I did add those external ip addresses. It means now that if i give my ip and port number to the external party, correct? They now can send through my relay. My issue is, is it possible that I can see in a program which emails are being sent?
Hello ,
I would like to ask can I receive email on the drop folder or I only can send and if I can receive how to do that?
thx
You can manually copy emails from Drop folder or use some third party POP3 /IMAP server software to access mail items from client aka Outlook.
After installing the SMTP server it’s also important to setup DNS mx/spf settings for out-bound emails to go properly.
Gotta give credit where credit is due. This was a FANTASTIC tutorial. Clear, concise and complete. Thanks!