This article will explain how to add (install) a new certificate to the trusted root certificate list on Linux.
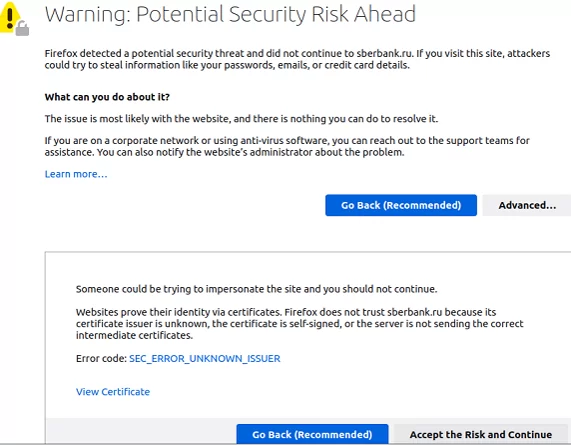
Let’s say you are using a self-signed SSL/TLS certificate but don’t want to get SEC_ERROR_UNKNOWN_ISSUER error on the client browser whenever your site is opened.
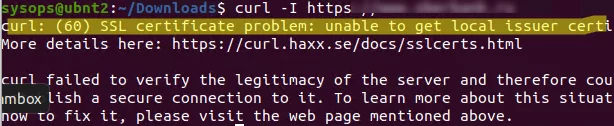
To check if your Linux host cannot verify (and therefore does not trust) the SSL certificate on a certain site, run the following command:
$ curl –I https://woshub.local
curl: (60) SSL certificate problem: unable to get local issuer certificate. More details here: https://curl.haxx.se/docs/sslcerts.html
curl failed to verify the legitimacy of the server and therefore could not establish a secure connection to it. To learn more about this situation and how to fix it, please visit the web page mentioned above.
In this case, we need to add this website’s Root CA to the list of trusted certificates on Linux.
How to Install the Root Certificate in the Trust Store on Linux?
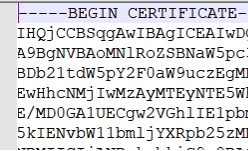
If you want to update your trusted certificate store on Linux, the first thing you need is the certificate’s PEM file with an *.CRT extension. A PEM certificate s a text file in base64 format that starts with the line —-BEGIN CERTIFICATE—– and ends with ——END CERTIFICATE——.
If you have your certificate’s file stored in DER format, you can convert it into PEM using the openssl command:
$ openssl x509 -in my_trusted_sub_ca.der -inform der -out my_trusted_sub_ca.cer
Now let’s see how you can add your CA root certificate to the trust list in DEB-based Linux distros (Ubuntu, Debian, Mint, Kali Linux, etc.).
First, copy your certificate files to the certificate store folder (/usr/local/share/ca-certificates/):
$ sudo cp my_trusted_sub_ca.crt /usr/local/share/ca-certificates/
 $ sudo cp my_trusted_root_ca.crt /usr/local/share/ca-certificates/
Update the certificate store using the command:
$ sudo update-ca-certificates -v
$ sudo apt-get install -y ca-certificates

If the certificates have been successfully added, you will see a message saying that the certificate has been copied to /etc/ssl/certs/:
Updating certificates in /etc/ssl/certs…
2 added, 0 removed; done.
Running hooks in /etc/ca-certificates/update.d
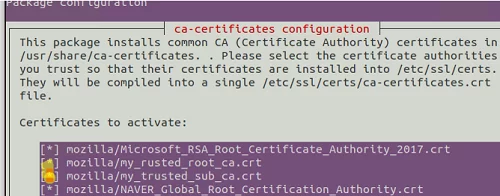
$ sudo dpkg-reconfigure ca-certificates
Check out the list of certificates and select the ones you want to add to the trusted ones.
On Linux, the list of trusted certificates is stored in the file /etc/ssl/certs/ca-certificates.crt. Both of the above commands will update this file and add information about the new certificates.
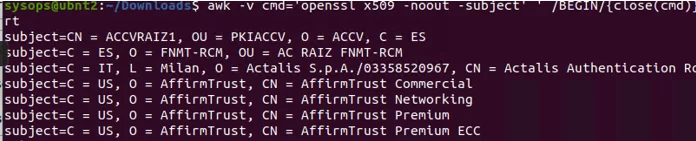
Use the following command to make sure that your certificates have been added to the trust list:
$ awk -v cmd='openssl x509 -noout -subject' ' /BEGIN/{close(cmd)};{print | cmd}' < /etc/ssl/certs/ca-certificates.crt | grep -i YourCASubj
Specify the Common Name part of your certificate instead of YourCASubj to search the store by subject.
You can see if your OS trusts the certificate by using the command:
$ openssl verify my_trusted_sub_ca.crt

error 20 at 0 depth lookup: unable to get local issuer certificate
error my_trusted_sub_ca.crt: verification failed
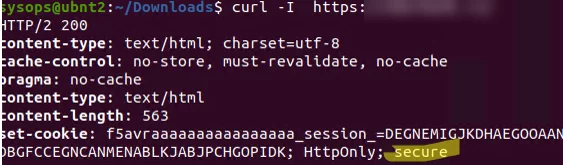
You can use curl to ensure that the site uses a trusted SSL certificate:
$ curl –I https://woshub.local
Everything is alright, the certificate is trusted { HTTPOnly: secure }.
$ sudo mkdir /usr/share/ca-certificates/extra
 $ sudo cp my.crt /usr/share/ca-certificates/extra/mycert1.crt
 $ sudo vim /etc/ca-certificates.conf
exta/mycert1.crt
$ sudo update-ca-certificates
To remove the certificate from the trusted list, simply delete your .crt file:
$ sudo rm /usr/local/share/ca-certificates/yourcert.crt
And update the CA store:
$ sudo update-ca-certificates --fresh
To add a certificate to the trust list on RPM-based Linux distros (CentOS, Oracle, RHEL, Rocky Linux, Fedora), use the following procedure:
- Instal the ca-certificates package:
# yum install ca-certificates - Copy the certificate file to /etc/pki/ca-trust/source/anchors/:
# cp mycert.crt /etc/pki/ca-trust/source/anchors/ - Update the certificate trusted store:
# update-ca-trust force-enable
 # update-ca-trust extract
Adding a Trusted CA Certificate to Chrome and Firefox
After performing the above steps, all system tools will trust websites that use this CA. However, this will not affect the Mozilla Firefox or Google Chrome web browsers, as they will still show a warning message about the untrusted certificate.
The thing is that Firefox, Chromium, Google Chrome, Vivaldi, and even Mozilla Thunderbird e-mail client don’t use the Linux system certificate store. The certificate store for these programs can be found in the user’s directory in the cert8.db (for Mozilla) or cert9.db file (for Chromium and Chrome). To update these certificate stores, you can use the certutil tool from the libnss3-tools package.
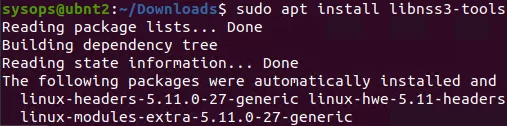
First, install the package:
$ sudo apt install libnss3-tools
Now run the following bash script to add your certificates to the store via NSS:
#!/bin/bash
 certfile="my_rusted_root_ca.crt"
 certname="My Root CA1"
 for certDB in $(find ~/ -name "cert8.db")
 do
 certdir=$(dirname ${certDB});
 certutil -A -n "${certname}" -t "TCu,Cu,Tu" -i ${certfile} -d dbm:${certdir}
 done
 for certDB in $(find ~/ -name "cert9.db")
 do
 certdir=$(dirname ${certDB});
 certutil -A -n "${certname}" -t "TCu,Cu,Tu" -i ${certfile} -d sql:${certdir}
 done
Once that’s done, websites with the given CA will be trusted by all browsers.
1 comment
Thanks a lot! Your tutorial helps me a lot to add the certificate.